THE TYRE MEASUREMENT TECHNOLOGY

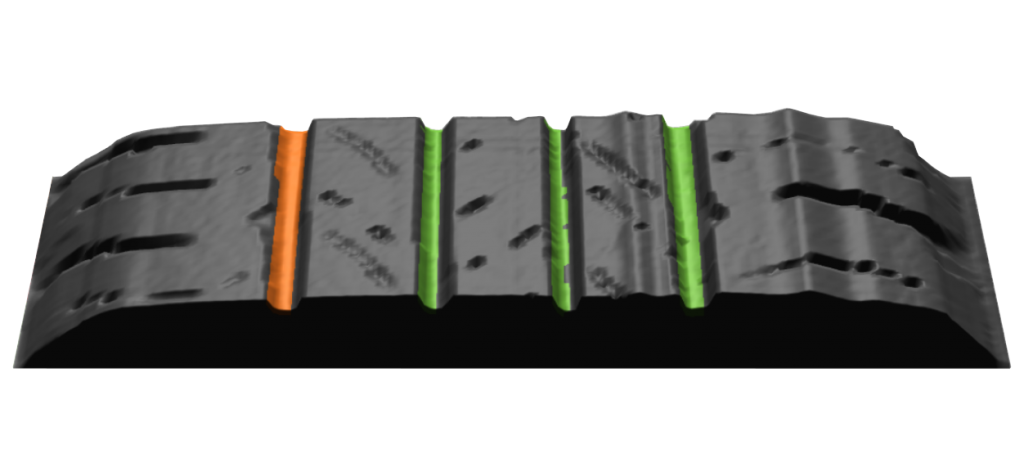
The patented TREADREADERTM tyre measurement technology creates a detailed 3D scan of each tyre, constructed from 320,000 measurement points, with an accuracy of <0.2mm or 0.008”.

By scanning the full width of the tyre and 50mm around the tyre, TREADREADER devices far surpass the accuracy and reliability of traditional dip gauges and non-contact ‘laser pointer’ measurement devices, producing a detailed 3D rendering which shows the condition of the tyre tread with absolute clarity.

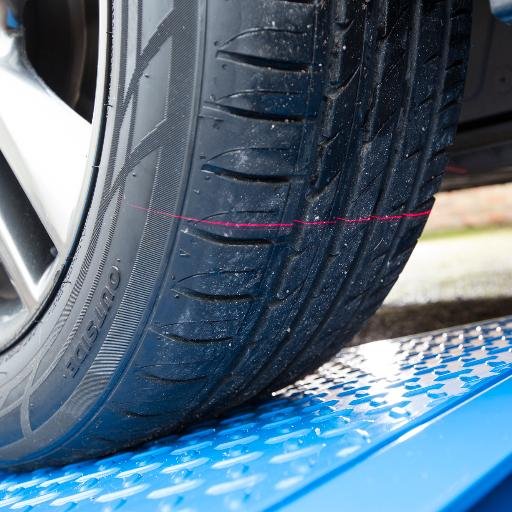
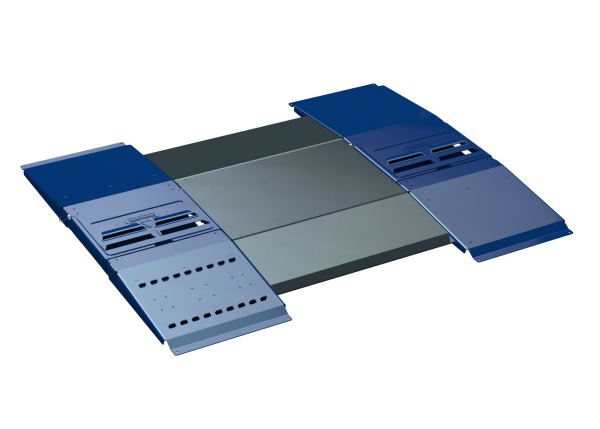
The TREADREADER DriveOver ramp is the optimal solution for all workshops, centres or depots with a larger footprint or ‘drive-through’ facility. The ramp is surface mounted, requiring no groundworks and can be located within, or at the entrance to a facility. The TREADREADER DriveOver ramp is suitable for all vehicle inspection volumes, particularly high volume or continuous traffic.

Download PDF Brochure
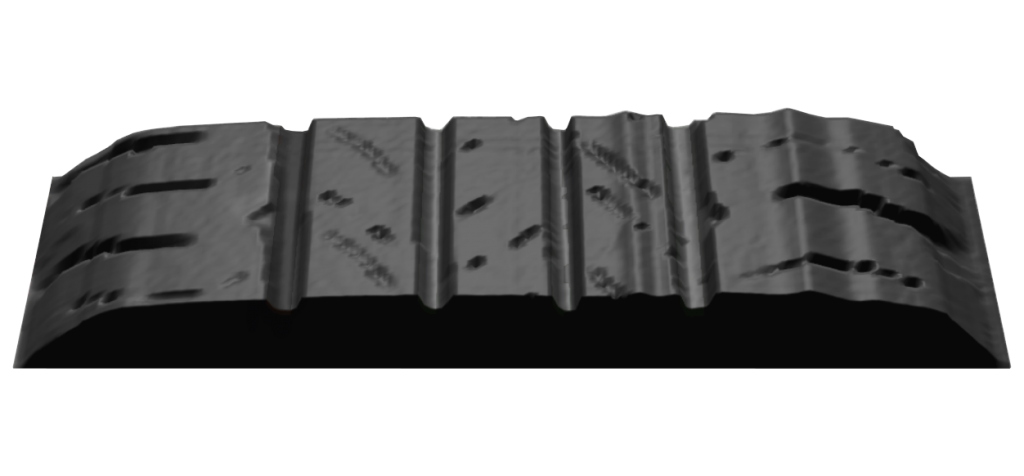
Original Image
Modified Image

RAMP OPERATION

Tread depth measurement occurs as the vehicle drives over the ramp. By passing over a pressure switch, the tyres trigger the sensors and air knives are activated to clean the laser scanning sensors mounted inside the ramps.

The captured 3D tyre scans are wirelessly transferred to the TREADREADER computer software. The software analyses the tyre scans, calculating tread depth, and displays 3D images, tread depth measurements and operator recommendations. Additional narratives can also be provided when edge wear is detected.

For integration with external applications, or the client’s own data management system, a middleware is provided. The middleware decodes the information sent by the DriveOver ramp and generates an xml file with the vehicle registration, calculated tread depths and wear remarks, as well as the path to the image and object HD location.

TECH SPECS

Description
Specification
Surface mount (W x L x H)
2200 x 1800 x 97mm (86.5 x 71 x 3.5")
Flush mount (W x L x H)
2380 x 1330 x 10mm (94 x 52.5 x 0.4")
Laser Class
Class 3R
Maximum scan width
2 x scan zones of 600mm ≈ 23.6”
Cross section of tyre measured (min)
35-50mm ≈ 1.4-2”
Measurement accuracy
< 0.2mm
Direction
Measures leading edge of the tire
Maximum vehicle speed
6.5-13 km/h ≈ 4-8mph
Cycle time within permitted speed range
12-15 secs
Power
Mains (110 - 220VAC, 1A) for Control Cabinet, with (12VDC, 2A) supplied to the ramp
Measurement trigger
Mechanical
Maximum axle weight
2500Kg
Environmental rating for ramp
IP67
Operating temperature range
0°C - 50°C ≈ 32°F - 122°F
Communication
Ethernet

COMPARE THE PRODUCTS

Surface mounted and best suited to service drive application
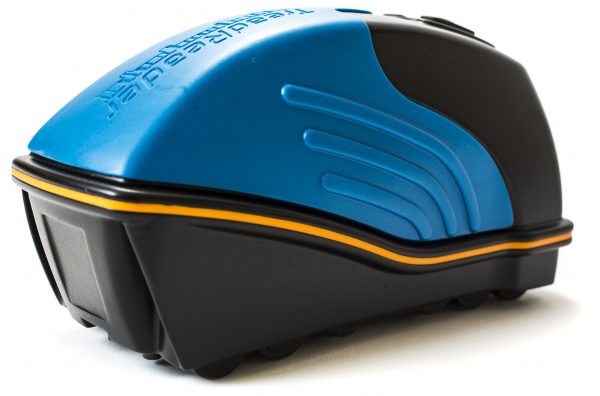
Portable device suitable for static and mobile applications
Produces 3D tread depth scan
Produces operator report incorporating vehicle ID and colour coded tread depth indicators
Provides accurate reading even for wet or dirty tyres
Integrates with garage management system